Net Worth →

Art & Design archive — Page 233

Oldest entries first, in a fixed order. Newly added articles appear at the end. Explore a shuffled selection →

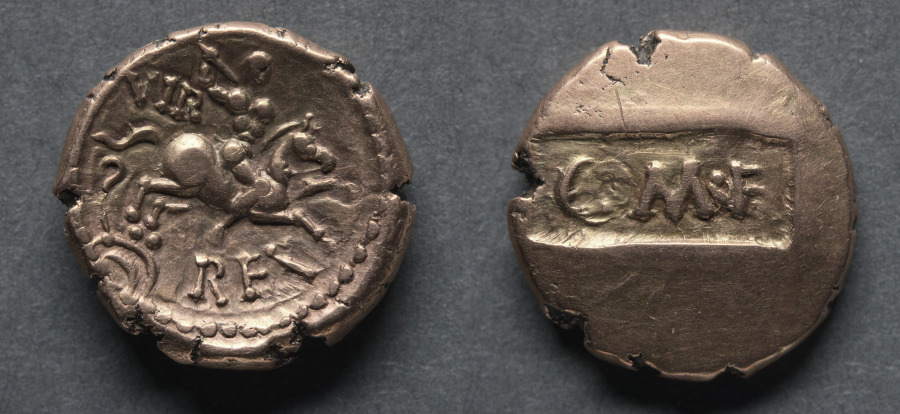
Verica Stater: Sunken Tablet (obverse); Horse and Rider (reverse) (c. 10–40 CE; Cleveland 1969.146)

Verica Stater: Sunken Tablet (obverse); Horse and Rider (reverse) (c. 10–40 CE): Art, History and Details

Verica Stater: Sunken Tablet (obverse); Horse and Rider (reverse) at the Cleveland Museum of Art: c. 10–40 CE, gold. Explore the work's context, creator attribution and collection history.

Addedomaros Stater: Crescents (obverse); Horse, Branch, and Spiral Sun (reverse) (50 BCE–10 CE; Cleveland 1969.147)

Addedomaros Stater: Crescents (obverse); Horse, Branch, and Spiral Sun (reverse) (50 BCE–10 CE): Art, History and Details

Addedomaros Stater: Crescents (obverse); Horse, Branch, and Spiral Sun (reverse) at the Cleveland Museum of Art: 50 BCE–10 CE, gold. Explore the work's context, creator attribution and collection history.

Dubnovellaunos Stater: Wreath and Crescents (obverse); Horse with Branch (reverse) (20 BCE–10 CE; Cleveland 1969.148)

Dubnovellaunos Stater: Wreath and Crescents (obverse); Horse with Branch (reverse) (20 BCE–10 CE): Art, History and Details

Dubnovellaunos Stater: Wreath and Crescents (obverse); Horse with Branch (reverse) at the Cleveland Museum of Art: 20 BCE–10 CE, gold. Explore the work's context, creator attribution and collection history.

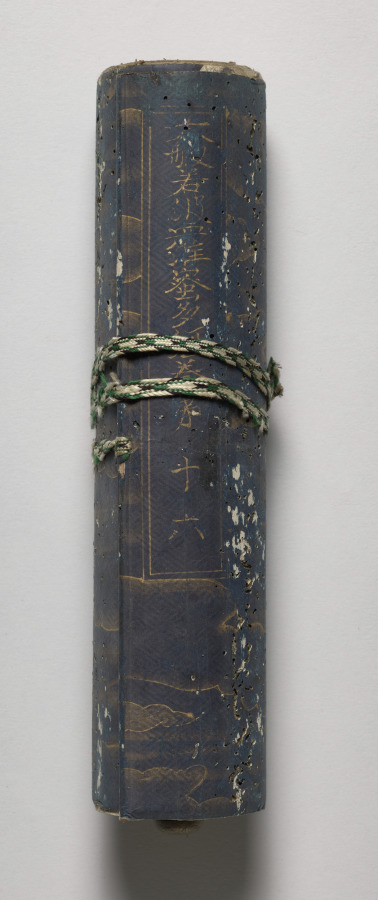
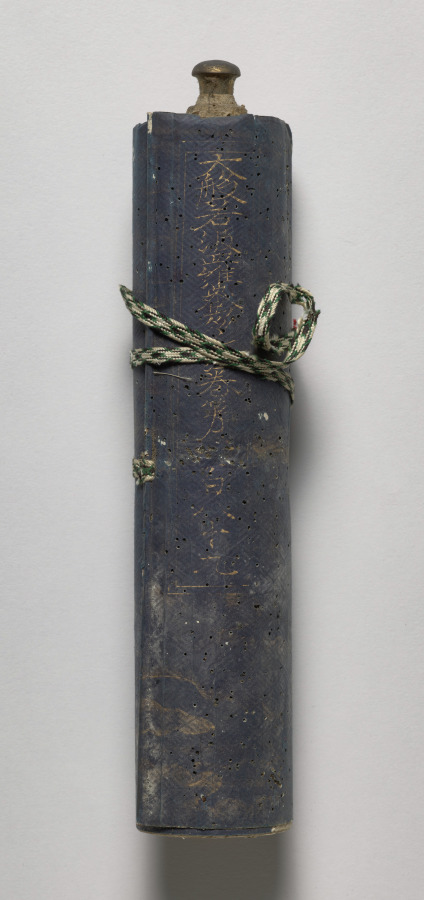
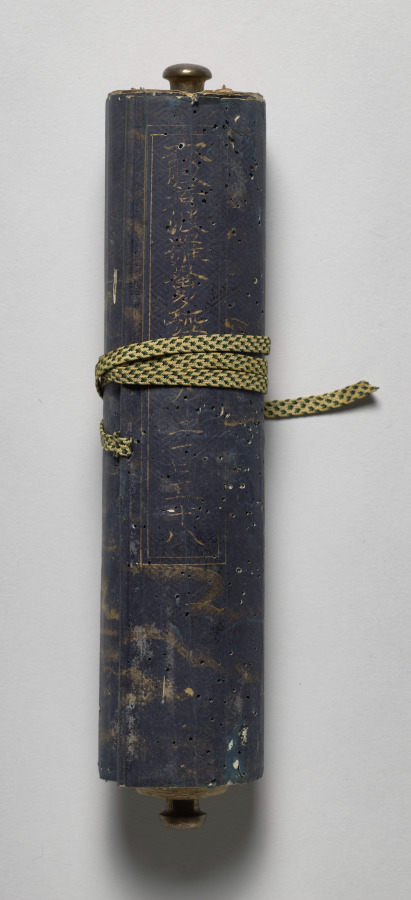
Volume from the Great Perfection of Wisdom Sutra (late 1100s; Cleveland 1969.130.2.a)

Volume from the Great Perfection of Wisdom Sutra (late 1100s): Art, History and Details

Volume from the Great Perfection of Wisdom Sutra at the Cleveland Museum of Art: late 1100s, Handscroll; ink and gold on dyed paper. Explore the work's context, creator attribution and collection history.

Volume from the Great Perfection of Wisdom Sutra (late 1100s; Cleveland 1969.130.2.b)

Volume from the Great Perfection of Wisdom Sutra (late 1100s): Art, History and Details

Volume from the Great Perfection of Wisdom Sutra at the Cleveland Museum of Art: late 1100s, Handscroll; ink and gold on dyed paper. Explore the work's context, creator attribution and collection history.

Volume from the Great Perfection of Wisdom Sutra (late 1100s; Cleveland 1969.130.2.c)

Volume from the Great Perfection of Wisdom Sutra (late 1100s): Art, History and Details

Volume from the Great Perfection of Wisdom Sutra at the Cleveland Museum of Art: late 1100s, Handscroll; ink and gold on dyed paper. Explore the work's context, creator attribution and collection history.

Volume from the Great Perfection of Wisdom Sutra (late 1100s; Cleveland 1969.130.2.d)

Volume from the Great Perfection of Wisdom Sutra (late 1100s): Art, History and Details

Volume from the Great Perfection of Wisdom Sutra at the Cleveland Museum of Art: late 1100s, Handscroll; ink and gold on dyed paper. Explore the work's context, creator attribution and collection history.

Volume from the Great Perfection of Wisdom Sutra (late 1100s; Cleveland 1969.130.2.e)

Volume from the Great Perfection of Wisdom Sutra (late 1100s): Art, History and Details

Volume from the Great Perfection of Wisdom Sutra at the Cleveland Museum of Art: late 1100s, Handscroll; ink and gold on dyed paper. Explore the work's context, creator attribution and collection history.

Volume from the Great Perfection of Wisdom Sutra (late 1100s; Cleveland 1969.130.2.f)

Volume from the Great Perfection of Wisdom Sutra (late 1100s): Art, History and Details

Volume from the Great Perfection of Wisdom Sutra at the Cleveland Museum of Art: late 1100s, Handscroll; ink and gold on dyed paper. Explore the work's context, creator attribution and collection history.

Volume from the Great Perfection of Wisdom Sutra (late 1100s; Cleveland 1969.130.2.g)

Volume from the Great Perfection of Wisdom Sutra (late 1100s): Art, History and Details

Volume from the Great Perfection of Wisdom Sutra at the Cleveland Museum of Art: late 1100s, Handscroll; ink and gold on dyed paper. Explore the work's context, creator attribution and collection history.

Volume from the Great Perfection of Wisdom Sutra (late 1100s; Cleveland 1969.130.2.h)

Volume from the Great Perfection of Wisdom Sutra (late 1100s): Art, History and Details

Volume from the Great Perfection of Wisdom Sutra at the Cleveland Museum of Art: late 1100s, Handscroll; ink and gold on dyed paper. Explore the work's context, creator attribution and collection history.

Volume from the Great Perfection of Wisdom Sutra (late 1100s; Cleveland 1969.130.2.i)

Volume from the Great Perfection of Wisdom Sutra (late 1100s): Art, History and Details

Volume from the Great Perfection of Wisdom Sutra at the Cleveland Museum of Art: late 1100s, Handscroll; ink and gold on dyed paper. Explore the work's context, creator attribution and collection history.

Volume from the Great Perfection of Wisdom Sutra (late 1100s; Cleveland 1969.130.2.j)

Volume from the Great Perfection of Wisdom Sutra (late 1100s): Art, History and Details

Volume from the Great Perfection of Wisdom Sutra at the Cleveland Museum of Art: late 1100s, Handscroll; ink and gold on dyed paper. Explore the work's context, creator attribution and collection history.

Volume from the Great Perfection of Wisdom Sutra (late 1100s; Cleveland 1969.130.2.k)

Volume from the Great Perfection of Wisdom Sutra (late 1100s): Art, History and Details

Volume from the Great Perfection of Wisdom Sutra at the Cleveland Museum of Art: late 1100s, Handscroll; ink and gold on dyed paper. Explore the work's context, creator attribution and collection history.

Stater: Wreath, Cloak, and Crescents (obverse); Horse and Wing Motif (reverse) (c. 60–20 BCE; Cleveland 1969.149)

Stater: Wreath, Cloak, and Crescents (obverse); Horse and Wing Motif (reverse) (c. 60–20 BCE): Art, History and Details

Stater: Wreath, Cloak, and Crescents (obverse); Horse and Wing Motif (reverse) at the Cleveland Museum of Art: c. 60–20 BCE, gold. Explore the work's context, creator attribution and collection history.

Tasciovanus Stater: Crossed Wreaths (obverse); Horse and Bucranium (Head of Ox) (reverse) (20 BCE–10 CE; Cleveland 1969.150)

Tasciovanus Stater: Crossed Wreaths (obverse); Horse and Bucranium (Head of Ox) (reverse) (20 BCE–10 CE): Art, History and Details

Tasciovanus Stater: Crossed Wreaths (obverse); Horse and Bucranium (Head of Ox) (reverse) at the Cleveland Museum of Art: 20 BCE–10 CE, gold. Explore the work's context, creator attribution and collection history.

Tasciovanus Stater: Wreath (obverse); Horse and Armed Rider (reverse) (c. 20 BCE–10 CE; Cleveland 1969.151)

Tasciovanus Stater: Wreath (obverse); Horse and Armed Rider (reverse) (c. 20 BCE–10 CE): Art, History and Details

Tasciovanus Stater: Wreath (obverse); Horse and Armed Rider (reverse) at the Cleveland Museum of Art: c. 20 BCE–10 CE, gold. Explore the work's context, creator attribution and collection history.

Cunobeline Stater: Tablet on Wreath (reverse); Two Horses and Wheel (reverse) (c. 10–40 CE; Cleveland 1969.152)

Cunobeline Stater: Tablet on Wreath (reverse); Two Horses and Wheel (reverse) (c. 10–40 CE): Art, History and Details

Cunobeline Stater: Tablet on Wreath (reverse); Two Horses and Wheel (reverse) at the Cleveland Museum of Art: c. 10–40 CE, gold. Explore the work's context, creator attribution and collection history.
Cunobeline Quarter Stater: Corn (obverse); Horse and Branch (reverse) (c. 10–40 CE; Cleveland 1969.153)

Cunobeline Quarter Stater: Corn (obverse); Horse and Branch (reverse) (c. 10–40 CE): Art, History and Details

Cunobeline Quarter Stater: Corn (obverse); Horse and Branch (reverse) at the Cleveland Museum of Art: c. 10–40 CE, gold. Explore the work's context, creator attribution and collection history.

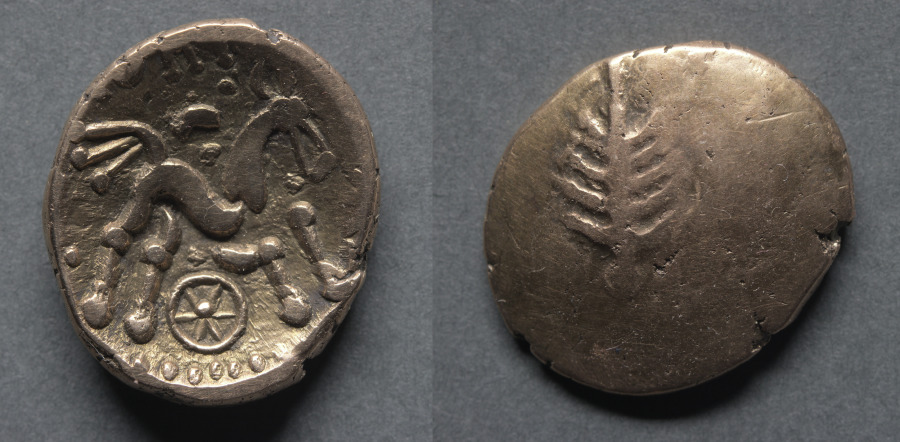
Catti Stater: Tree Symbol on Plain Field (obverse); Horse and Wheel (reverse) (20–45 CE; Cleveland 1969.154)

Catti Stater: Tree Symbol on Plain Field (obverse); Horse and Wheel (reverse) (20–45 CE): Art, History and Details

Catti Stater: Tree Symbol on Plain Field (obverse); Horse and Wheel (reverse) at the Cleveland Museum of Art: 20–45 CE, gold. Explore the work's context, creator attribution and collection history.

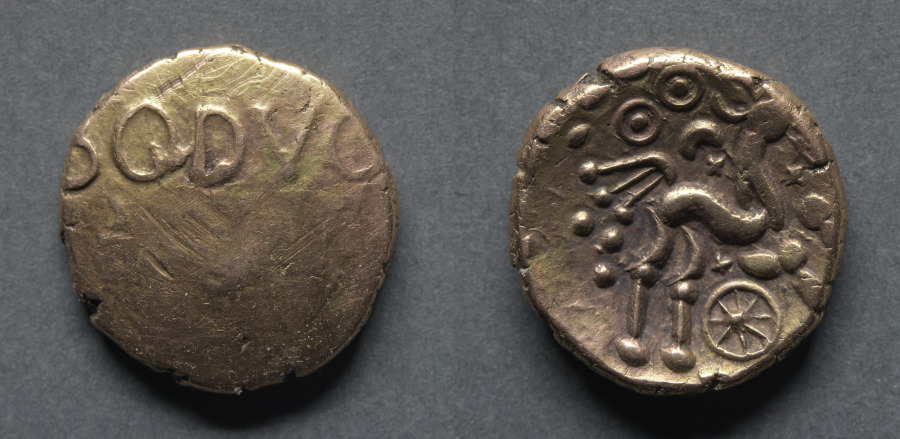
Stater: BODVOC on plain field (obverse); Horse, Wheel, and Crescent (reverse) (10 BCE–20 CE; Cleveland 1969.155)

Stater: BODVOC on plain field (obverse); Horse, Wheel, and Crescent (reverse) (10 BCE–20 CE): Art, History and Details

Stater: BODVOC on plain field (obverse); Horse, Wheel, and Crescent (reverse) at the Cleveland Museum of Art: 10 BCE–20 CE, gold. Explore the work's context, creator attribution and collection history.

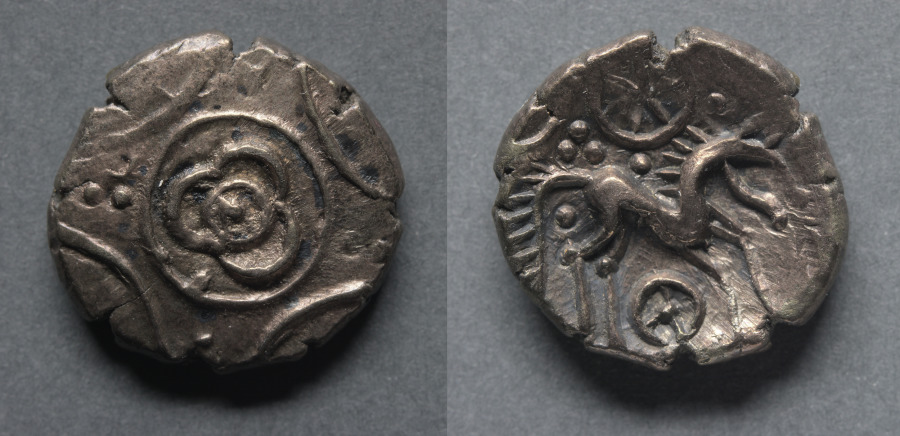
Stater: Three-Petal Flower (obverse); Horse and wheels (reverse) (20 BCE–10 CE; Cleveland 1969.156)

Stater: Three-Petal Flower (obverse); Horse and wheels (reverse) (20 BCE–10 CE): Art, History and Details

Stater: Three-Petal Flower (obverse); Horse and wheels (reverse) at the Cleveland Museum of Art: 20 BCE–10 CE, gold. Explore the work's context, creator attribution and collection history.

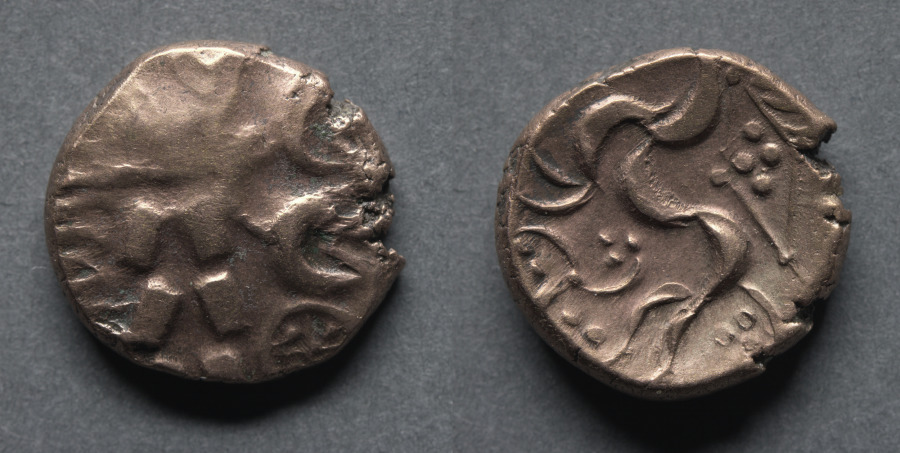
Stater: Wreath, Crescents, and Wheel (obverse); Horse and Diamond (reverse) (10 BCE–30 CE; Cleveland 1969.157)

Stater: Wreath, Crescents, and Wheel (obverse); Horse and Diamond (reverse) (10 BCE–30 CE): Art, History and Details

Stater: Wreath, Crescents, and Wheel (obverse); Horse and Diamond (reverse) at the Cleveland Museum of Art: 10 BCE–30 CE, gold. Explore the work's context, creator attribution and collection history.

Aureus: Bust of Claudius I (obverse); Triumphal Arch with Equestrian Statue and Trophies (reverse) (47–48 CE; Cleveland 1969.158)

Aureus: Bust of Claudius I (obverse); Triumphal Arch with Equestrian Statue and Trophies (reverse) (47–48 CE): Art, History and Details

Aureus: Bust of Claudius I (obverse); Triumphal Arch with Equestrian Statue and Trophies (reverse) at the Cleveland Museum of Art: 47–48 CE, gold. Explore the work's context, creator attribution and collection history.
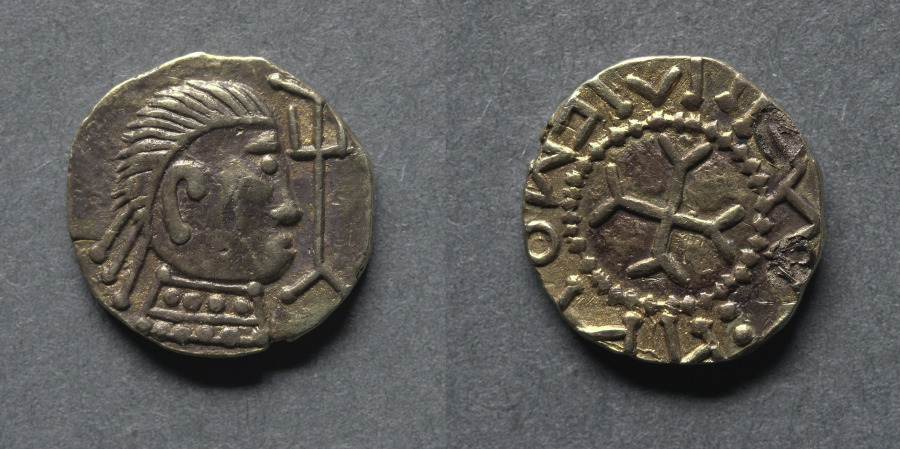
Witmen Tremissis: Bust and Trident (obverse); Cross Fourchée (reverse) (early 600s; Cleveland 1969.159)

Witmen Tremissis: Bust and Trident (obverse); Cross Fourchée (reverse) (early 600s): Art, History and Details

Witmen Tremissis: Bust and Trident (obverse); Cross Fourchée (reverse) at the Cleveland Museum of Art: early 600s, gold. Explore the work's context, creator attribution and collection history.

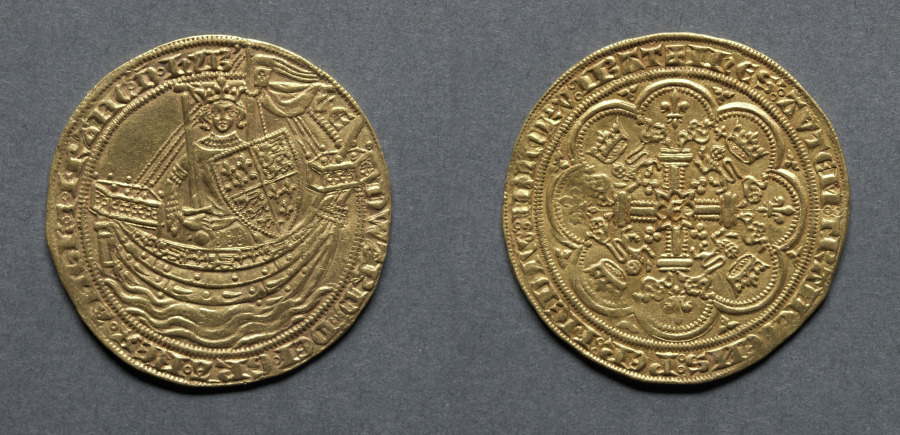
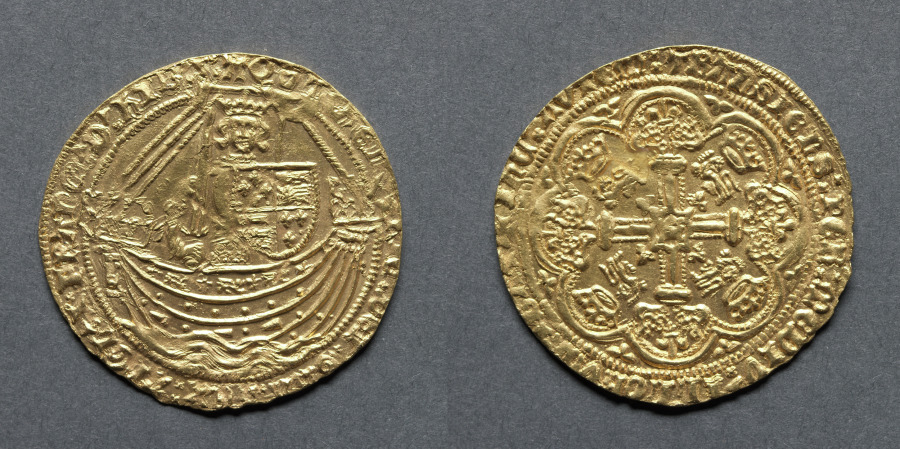
Noble: Edward III Standing in Ship with Shield of Arms (obverse); Ornamental Cross with Lis Terminals (reverse) (1351; Cleveland 1969.160)

Noble: Edward III Standing in Ship with Shield of Arms (obverse); Ornamental Cross with Lis Terminals (reverse) (1351): Art, History and Details

Noble: Edward III Standing in Ship with Shield of Arms (obverse); Ornamental Cross with Lis Terminals (reverse) at the Cleveland Museum of Art: 1351, gold. Explore the work's context, creator attribution and collection history.
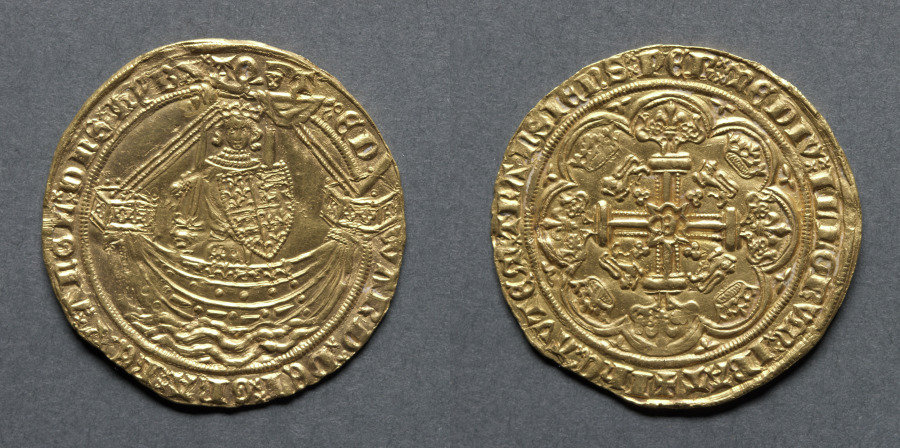
Noble: Edward III Standing in Ship with Shield of Arms (obverse); Ornamental Cross with Lis Terminals (reverse) (1363–69; Cleveland 1969.161)

Noble: Edward III Standing in Ship with Shield of Arms (obverse); Ornamental Cross with Lis Terminals (reverse) (1363–69): Art, History and Details

Noble: Edward III Standing in Ship with Shield of Arms (obverse); Ornamental Cross with Lis Terminals (reverse) at the Cleveland Museum of Art: 1363–69, gold. Explore the work's context, creator attribution and collection history.

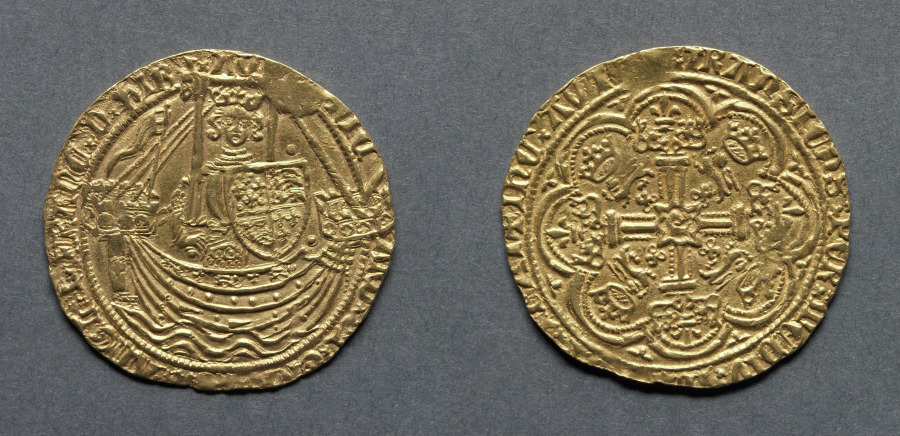
Noble: Richard II Standing on Ship with Shield of Arms (obverse); Ornamental Cross with Lis Terminals (reverse) (1377–1399; Cleveland 1969.162)

Noble: Richard II Standing on Ship with Shield of Arms (obverse); Ornamental Cross with Lis Terminals (reverse) (1377–1399): Art, History and Details

Noble: Richard II Standing on Ship with Shield of Arms (obverse); Ornamental Cross with Lis Terminals (reverse) at the Cleveland Museum of Art: 1377–1399, gold. Explore the work's context, creator attribution and collection history.

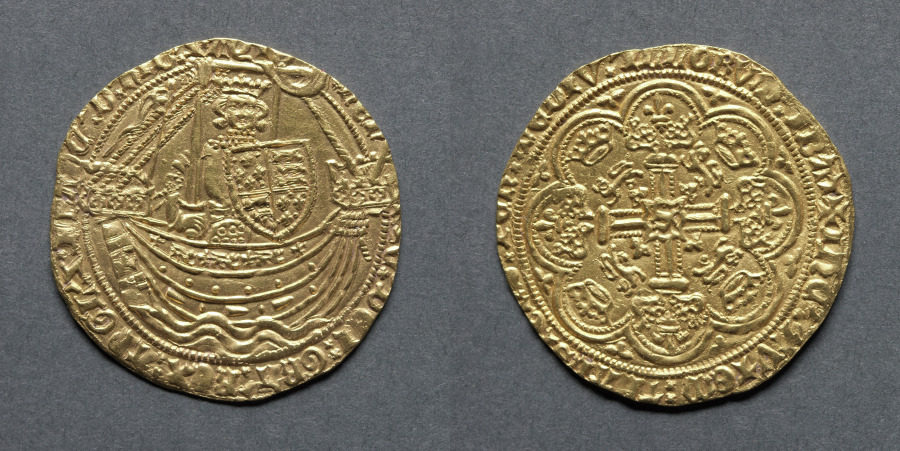
Noble: Henry IV Standing in Ship with Shield of Arms (obverse); Ornamental Cross with Lis Terminals (reverse) (1399–1412; Cleveland 1969.163)

Noble: Henry IV Standing in Ship with Shield of Arms (obverse); Ornamental Cross with Lis Terminals (reverse) (1399–1412): Art, History and Details

Noble: Henry IV Standing in Ship with Shield of Arms (obverse); Ornamental Cross with Lis Terminals (reverse) at the Cleveland Museum of Art: 1399–1412, gold. Explore the work's context, creator attribution and collection history.
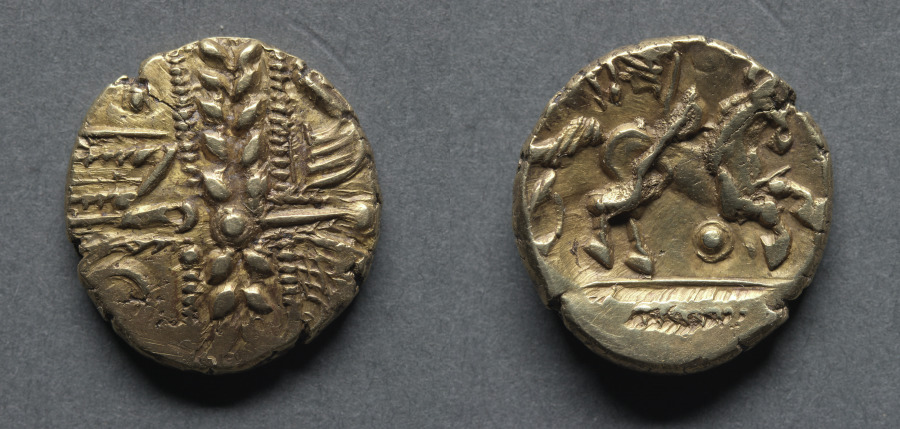
Noble: Henry V in Ship with Shield of Arms (obverse); Ornamental Cross with Lis Terminals (reverse) (1413–22; Cleveland 1969.164)

Noble: Henry V in Ship with Shield of Arms (obverse); Ornamental Cross with Lis Terminals (reverse) (1413–22): Art, History and Details

Noble: Henry V in Ship with Shield of Arms (obverse); Ornamental Cross with Lis Terminals (reverse) at the Cleveland Museum of Art: 1413–22, gold. Explore the work's context, creator attribution and collection history.

Noble: Henry VI in Ship with Shield of Arms (obverse); Ornamental Cross with Lis Terminals (reverse) (1422–61; Cleveland 1969.165)

Noble: Henry VI in Ship with Shield of Arms (obverse); Ornamental Cross with Lis Terminals (reverse) (1422–61): Art, History and Details

Noble: Henry VI in Ship with Shield of Arms (obverse); Ornamental Cross with Lis Terminals (reverse) at the Cleveland Museum of Art: 1422–61, gold. Explore the work's context, creator attribution and collection history.
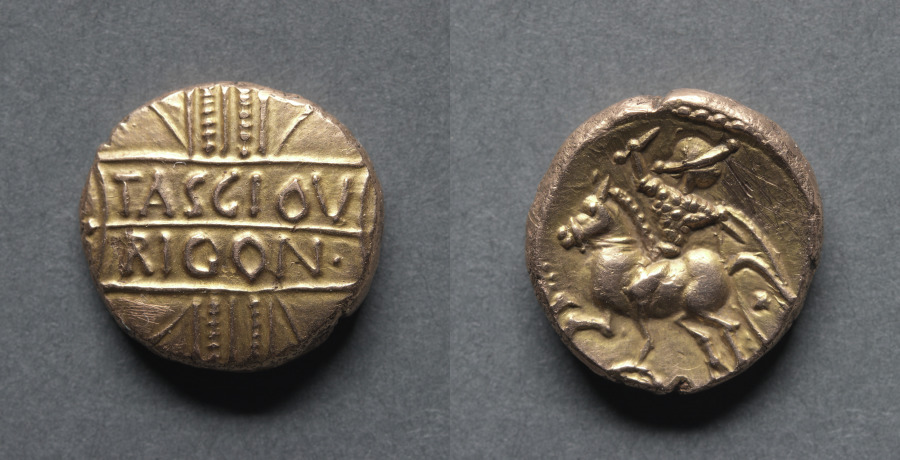
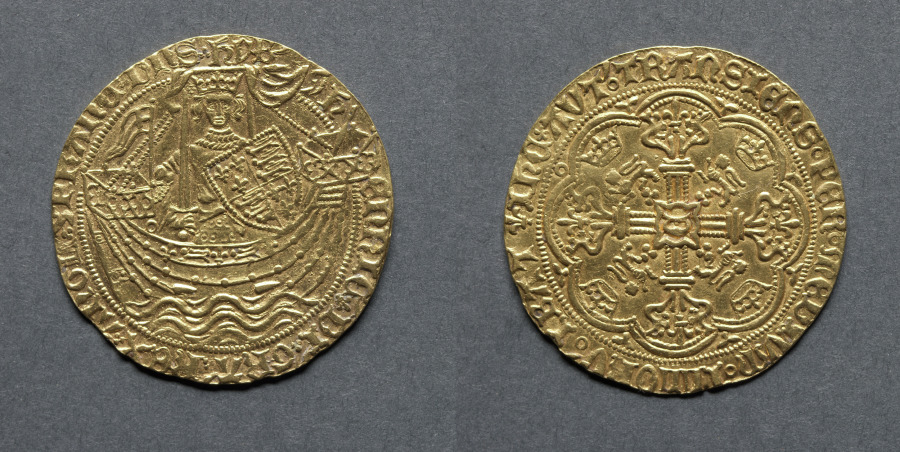
Ryal: Edward IV in Ship with a Shield of Arms and Rose (obverse); Sun with Fleurs (reverse) (1464/5–70; Cleveland 1969.166)

Ryal: Edward IV in Ship with a Shield of Arms and Rose (obverse); Sun with Fleurs (reverse) (1464/5–70): Art, History and Details

Ryal: Edward IV in Ship with a Shield of Arms and Rose (obverse); Sun with Fleurs (reverse) at the Cleveland Museum of Art: 1464/5–70, gold. Explore the work's context, creator attribution and collection history.
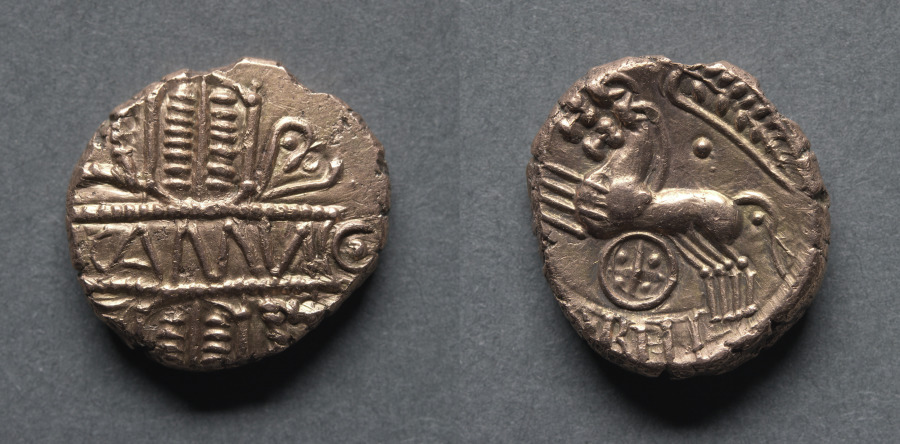
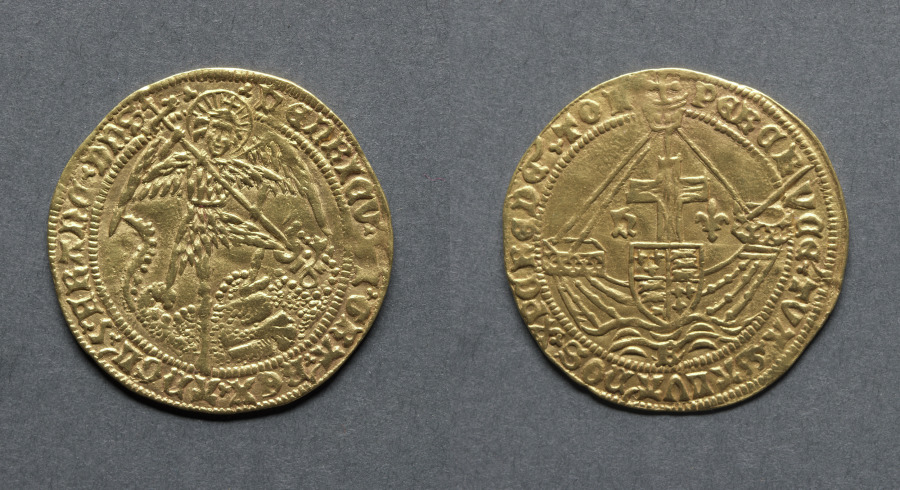
Angel: St. George Slaying the Dragon (obverse); Ship with Shield of Arms and Cross (reverse) (1470–71; Cleveland 1969.167)

Angel: St. George Slaying the Dragon (obverse); Ship with Shield of Arms and Cross (reverse) (1470–71): Art, History and Details

Angel: St. George Slaying the Dragon (obverse); Ship with Shield of Arms and Cross (reverse) at the Cleveland Museum of Art: 1470–71, gold. Explore the work's context, creator attribution and collection history.
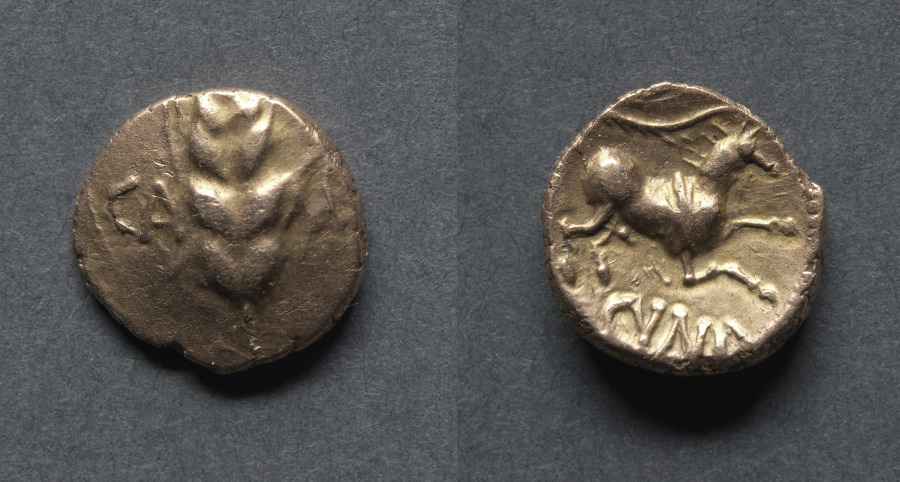
Angel: St. George Slaying the Dragon (obverse); Ship with Shield of Arms and Cross (reverse) (1483–85; Cleveland 1969.168)

Angel: St. George Slaying the Dragon (obverse); Ship with Shield of Arms and Cross (reverse) (1483–85): Art, History and Details

Angel: St. George Slaying the Dragon (obverse); Ship with Shield of Arms and Cross (reverse) at the Cleveland Museum of Art: 1483–85, gold. Explore the work's context, creator attribution and collection history.
Sovereign: Henry VII (obverse); Shield of Arms in Tudor Rose (reverse) (1504–9; Cleveland 1969.169)

Sovereign: Henry VII (obverse); Shield of Arms in Tudor Rose (reverse) (1504–9): Art, History and Details

Sovereign: Henry VII (obverse); Shield of Arms in Tudor Rose (reverse) at the Cleveland Museum of Art: 1504–9, gold. Explore the work's context, creator attribution and collection history.
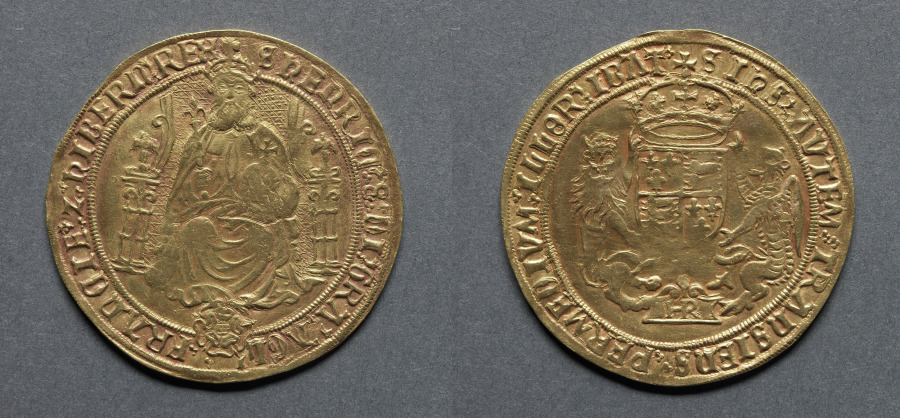
Sovereign: Henry VIII Enthroned (obverse); Royal Arms on Tudor Rose (reverse) (1526–44; Cleveland 1969.170)

Sovereign: Henry VIII Enthroned (obverse); Royal Arms on Tudor Rose (reverse) (1526–44): Art, History and Details

Sovereign: Henry VIII Enthroned (obverse); Royal Arms on Tudor Rose (reverse) at the Cleveland Museum of Art: 1526–44, gold. Explore the work's context, creator attribution and collection history.
Half Angel: Angel Slaying a Dragon (obverse); Ship with Shield of Arms (reverse) (1526–44; Cleveland 1969.171)

Half Angel: Angel Slaying a Dragon (obverse); Ship with Shield of Arms (reverse) (1526–44): Art, History and Details

Half Angel: Angel Slaying a Dragon (obverse); Ship with Shield of Arms (reverse) at the Cleveland Museum of Art: 1526–44, gold. Explore the work's context, creator attribution and collection history.
Crown of the Double Rose: Crowned Double Rose (obverse); Crowned Royal Arms (reverse) (1526–33; Cleveland 1969.172)

Crown of the Double Rose: Crowned Double Rose (obverse); Crowned Royal Arms (reverse) (1526–33): Art, History and Details

Crown of the Double Rose: Crowned Double Rose (obverse); Crowned Royal Arms (reverse) at the Cleveland Museum of Art: 1526–33, gold. Explore the work's context, creator attribution and collection history.

Sovereign: Henry VIII (obverse); Crowned Shield of Arms (reverse) (1544–47; Cleveland 1969.173)

Sovereign: Henry VIII (obverse); Crowned Shield of Arms (reverse) (1544–47): Art, History and Details

Sovereign: Henry VIII (obverse); Crowned Shield of Arms (reverse) at the Cleveland Museum of Art: 1544–47, gold. Explore the work's context, creator attribution and collection history.
Half Sovereign: Henry VIII (obverse); Crowned Arms (reverse) (1544–47; Cleveland 1969.174)

Half Sovereign: Henry VIII (obverse); Crowned Arms (reverse) (1544–47): Art, History and Details

Half Sovereign: Henry VIII (obverse); Crowned Arms (reverse) at the Cleveland Museum of Art: 1544–47, gold. Explore the work's context, creator attribution and collection history.